Essence + Alchemy: the relaunch

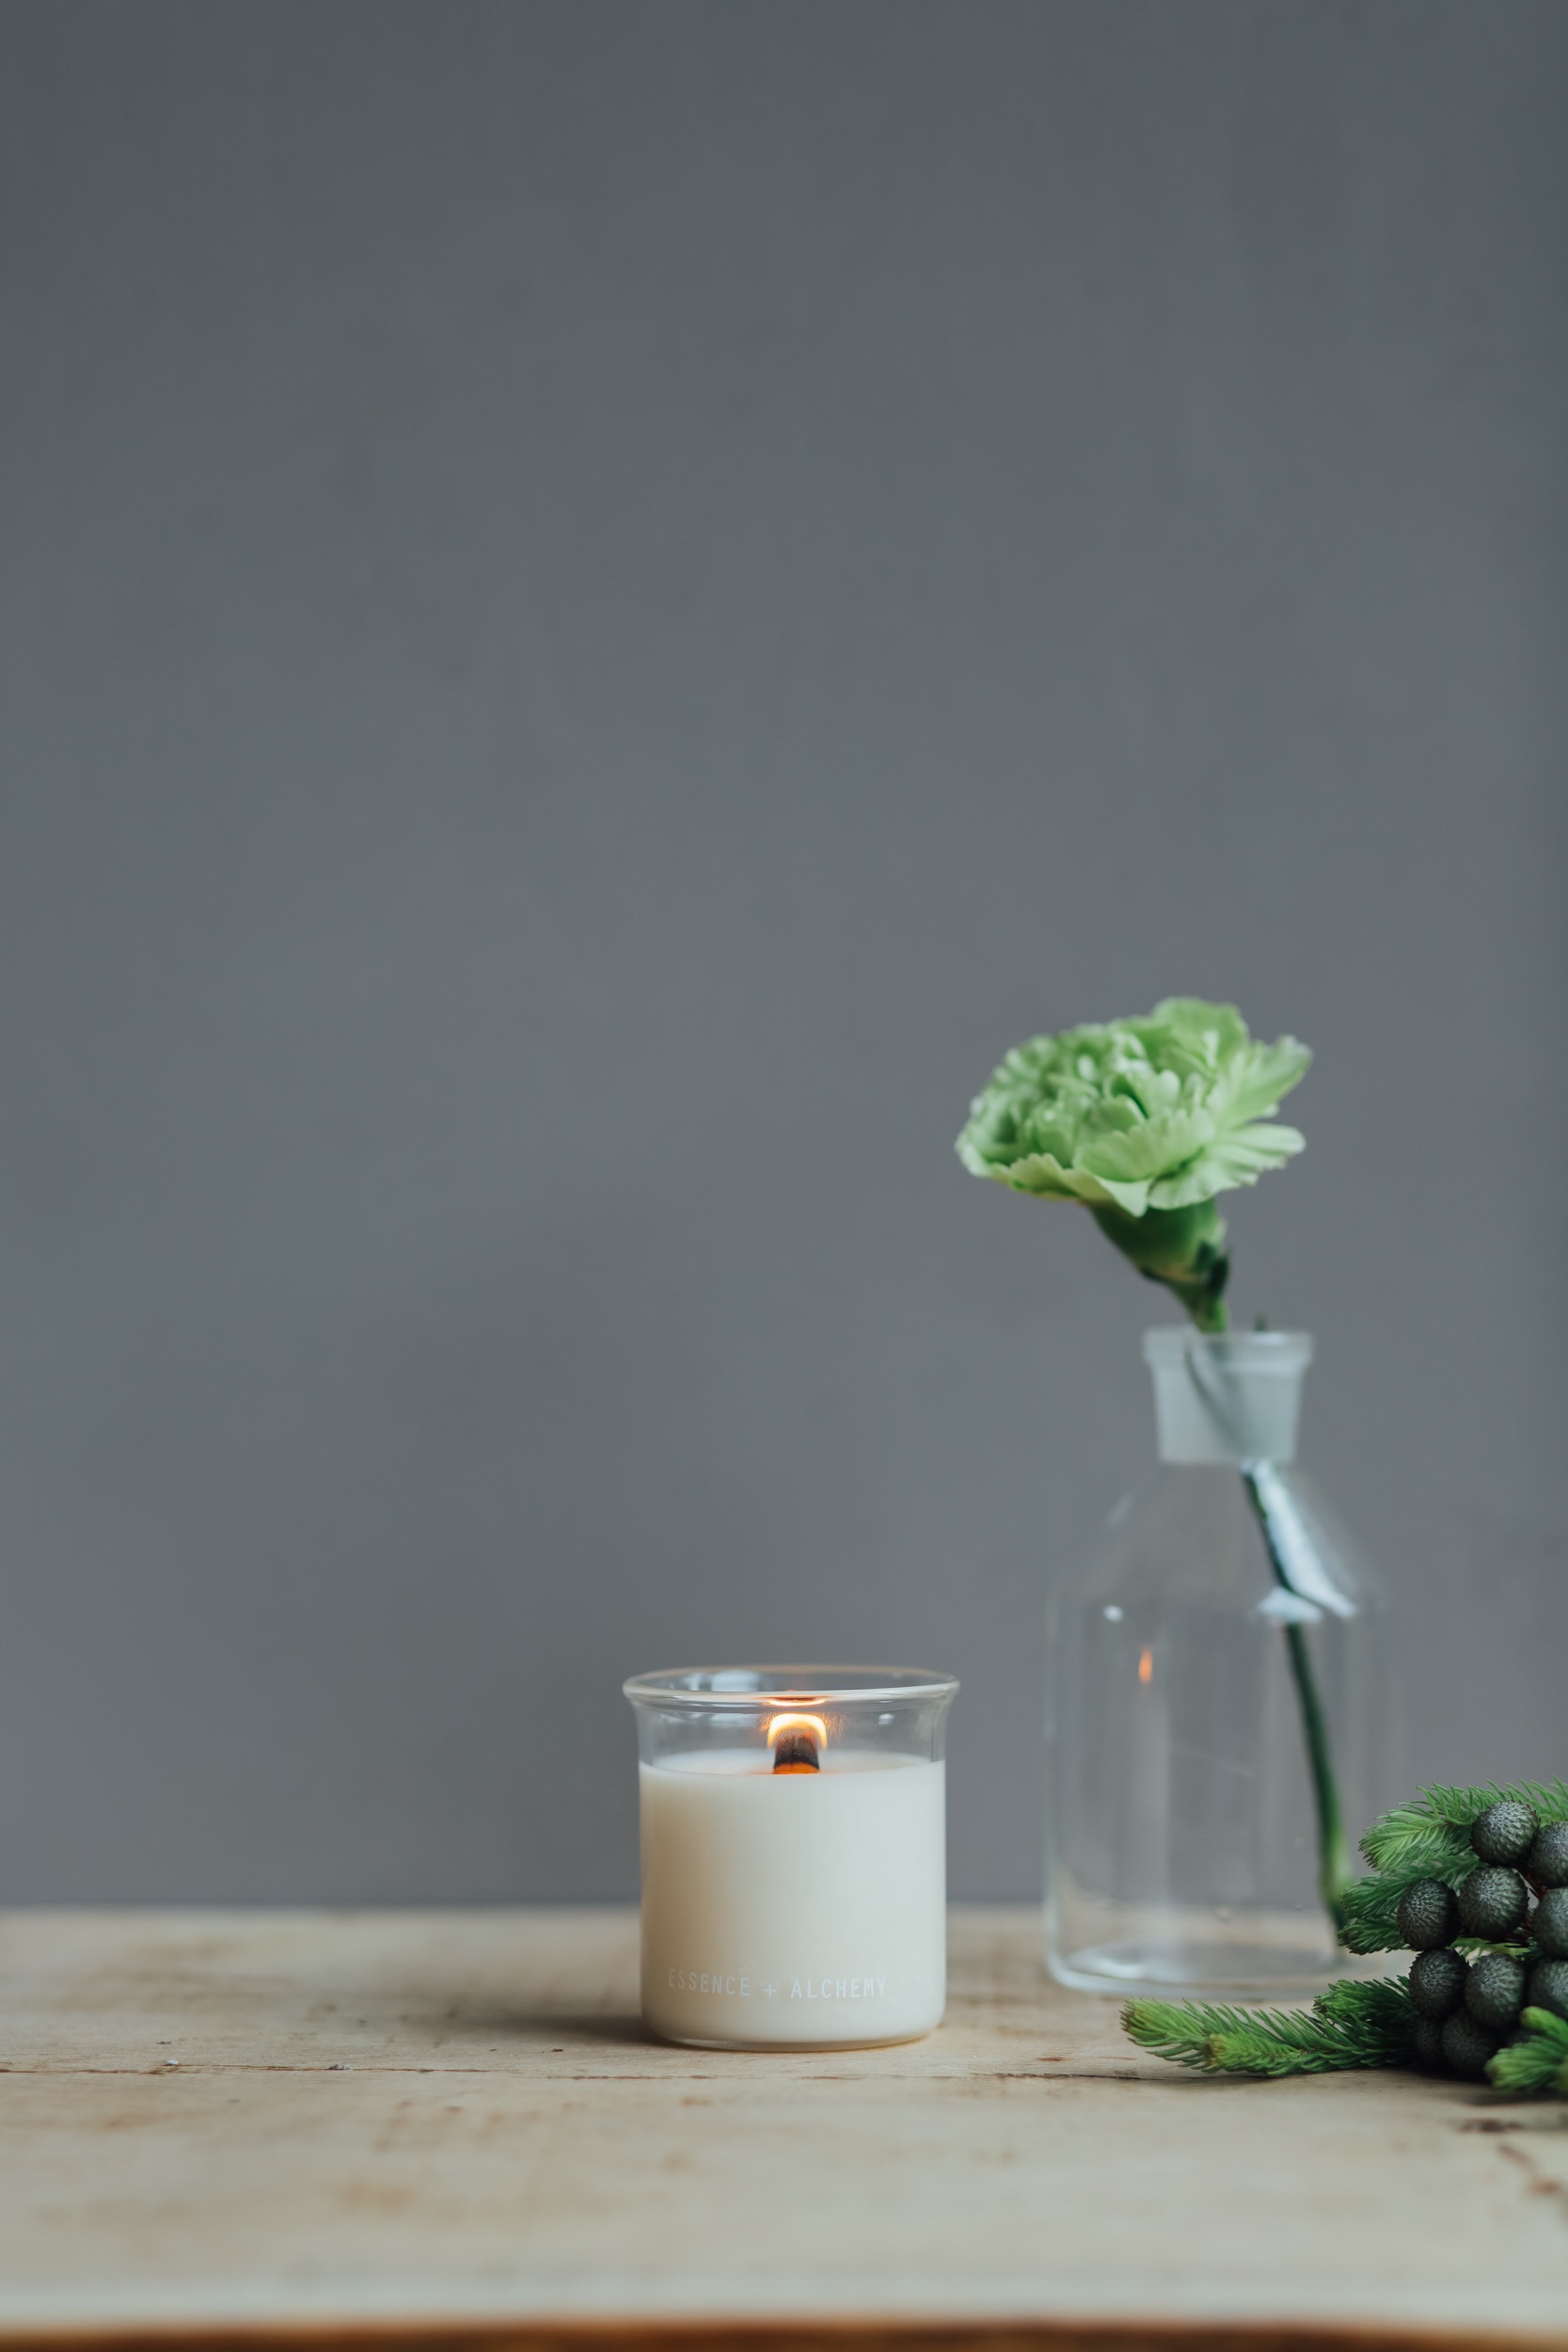
Lesley Bramwell of Essence + Alchemy spends a lot of her time in her laboratory mixing batches of rapeseed wax candles that crackle and smell of wild gardens and the sky above the clouds. We've spoken to her about her relaunch...

Lesley, tell us about what you've been up to in your laboratory the last few months.

It’s been a busy time, working on the E+A relaunch and designing the new store and products. I’m also in the process of designing and building a new garden laboratory. 

A garden laboratory, you say? Tell us more.

I was struggling to find a place in Sheffield that ticked all the boxes – clean, light, warm, nice view etc, so I decided to look into building a lab at home. My house is built on 1/3 acre – we have the space so it made perfect sense. 

Building starts end of July. A local timber frame company will erect the frame and my husband is finishing the external and internals. Hoping completion will be end of September.

It will have a dedicated lab store room, a desk area facing double doors onto the garden and lab area with benches under the windows facing the garden. Water used will be filtered and collected for reuse in the garden. 

The dream is to eventually grow and distill my own oils, which I can use in products. I like the idea of distilling my own rose essential oil but I might need to plant a few bushes before I can do that! 

What's been the inspiration behind your redesign?

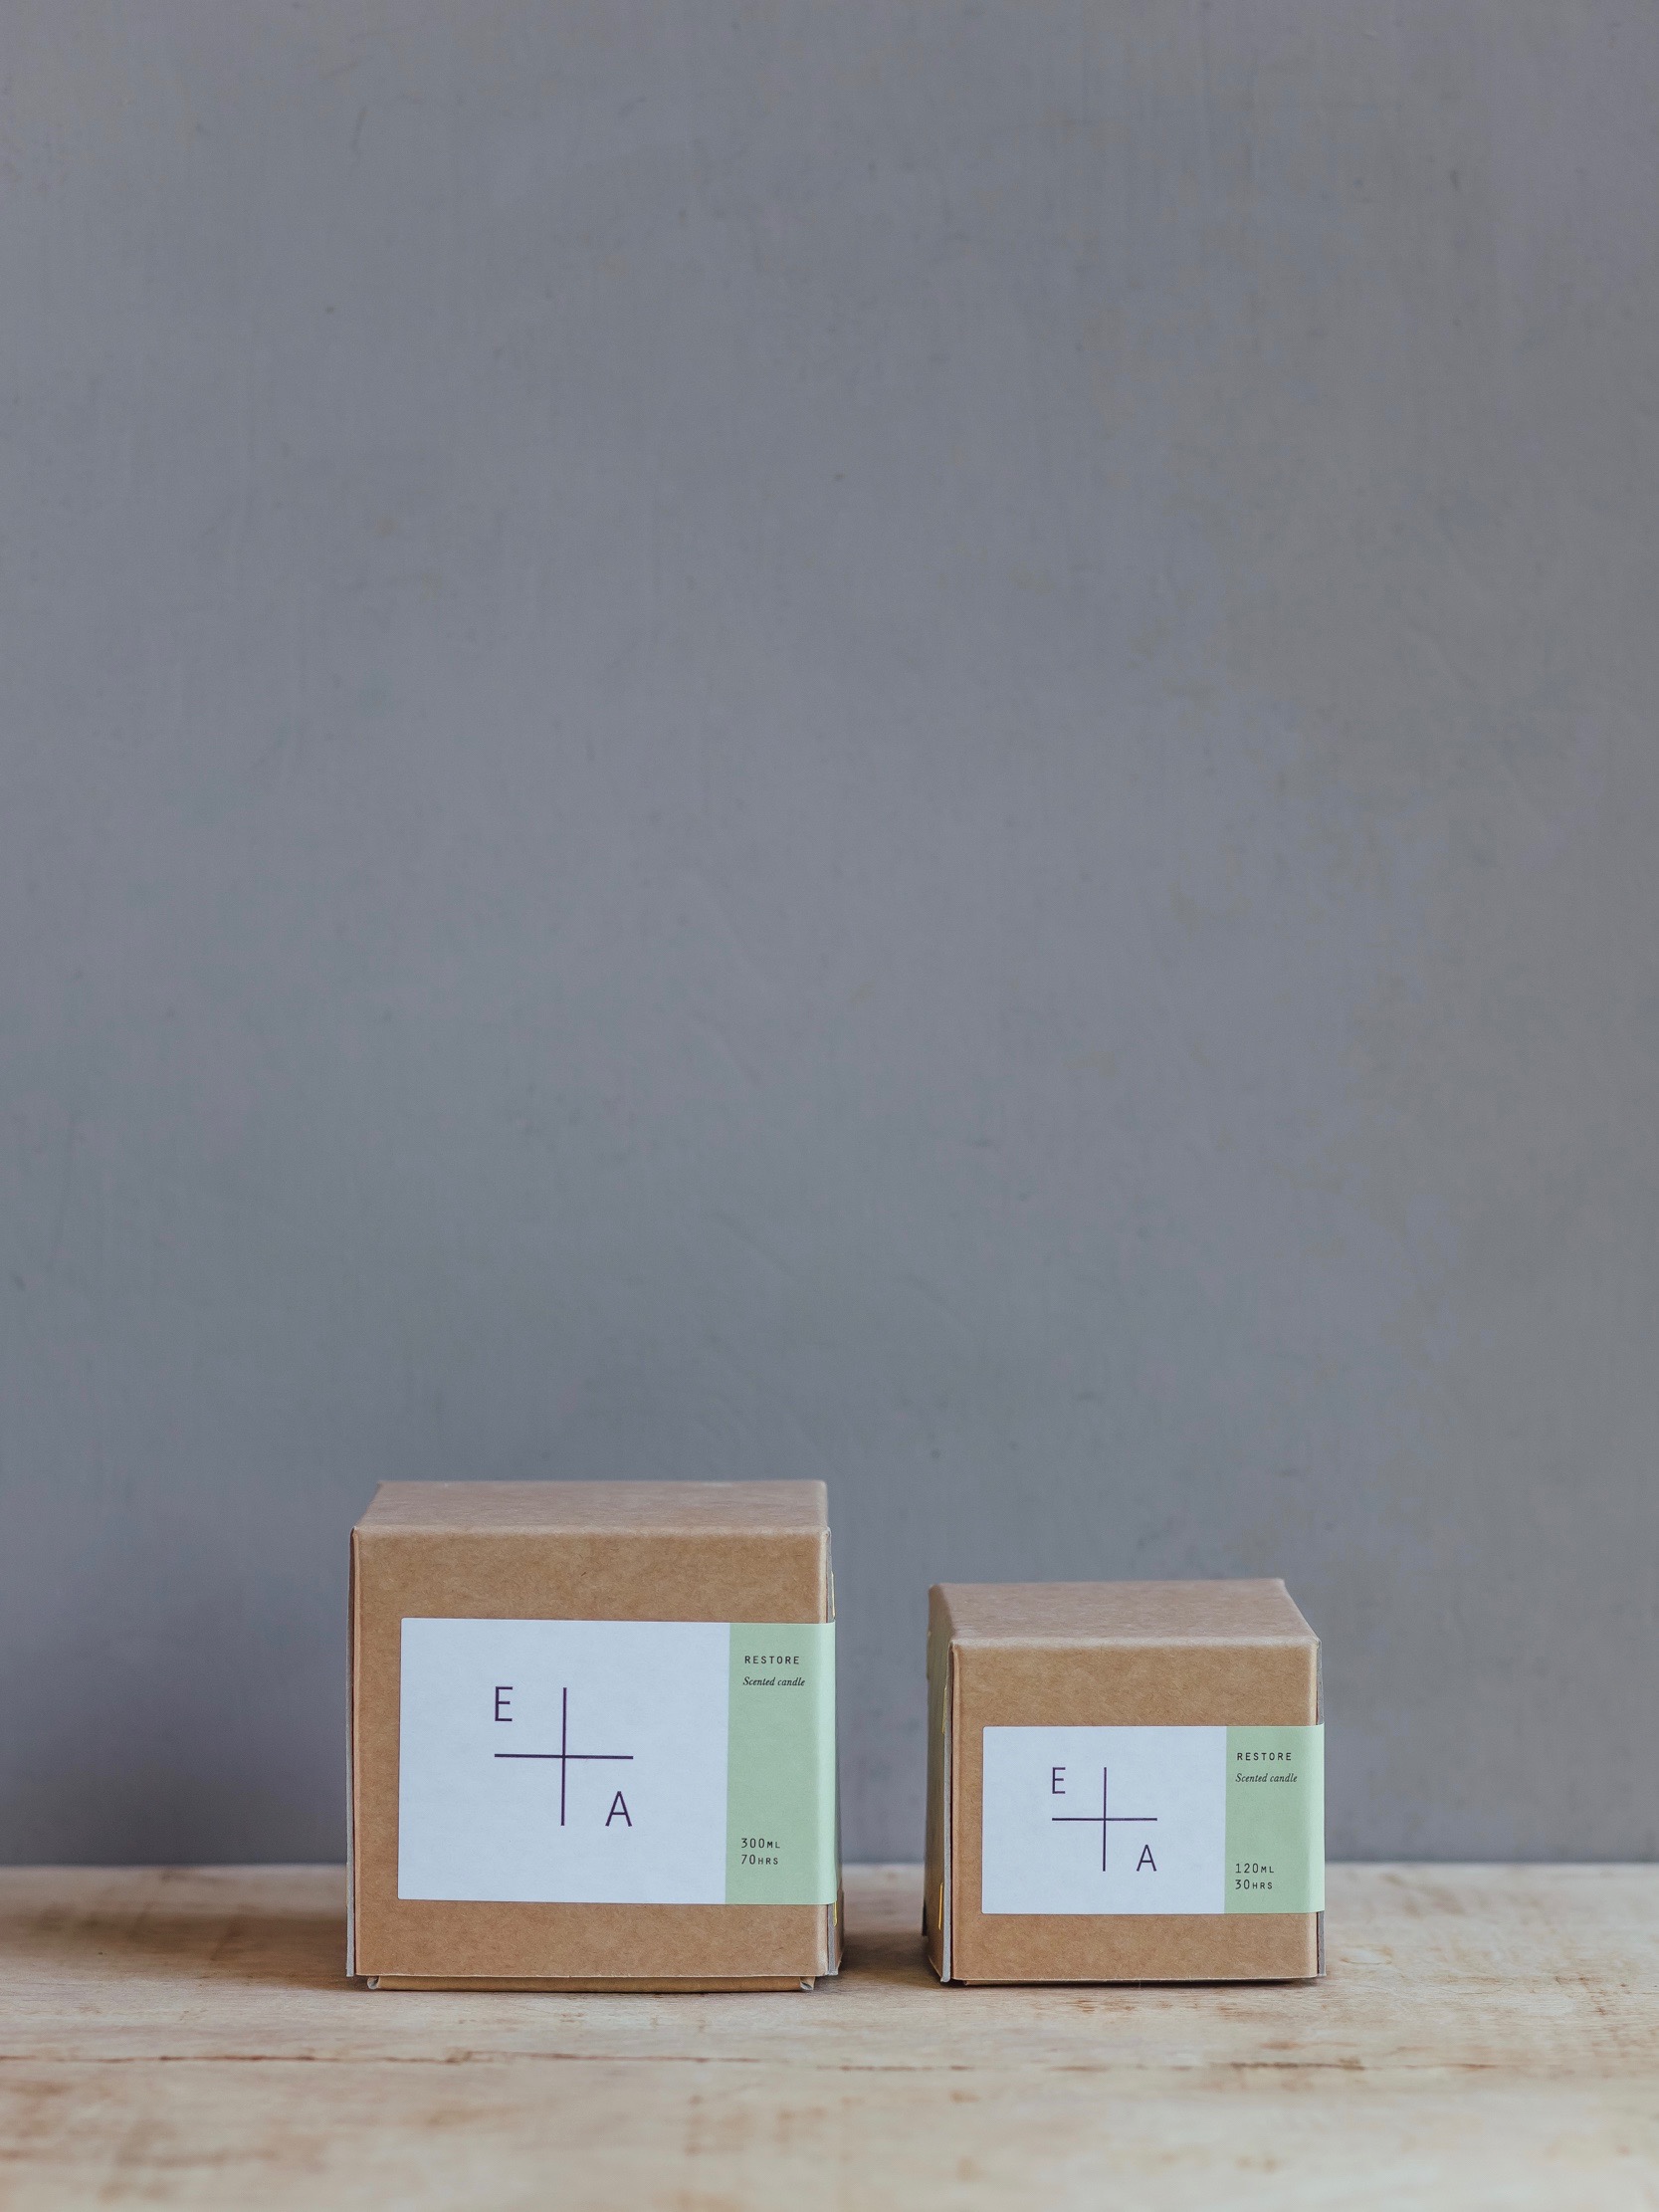
The look of the brand has always been about my scientific background and the formula behind the name E+A.  I wanted a fresh and clean look that reflected this and with the help of local Sheffield designer Sean Coleman, I think this has been achieved - a combination of scientific text and pastel colours to reflect the natural scent of the products with a clean minimalist edge.  

Tell us about some of your new products.

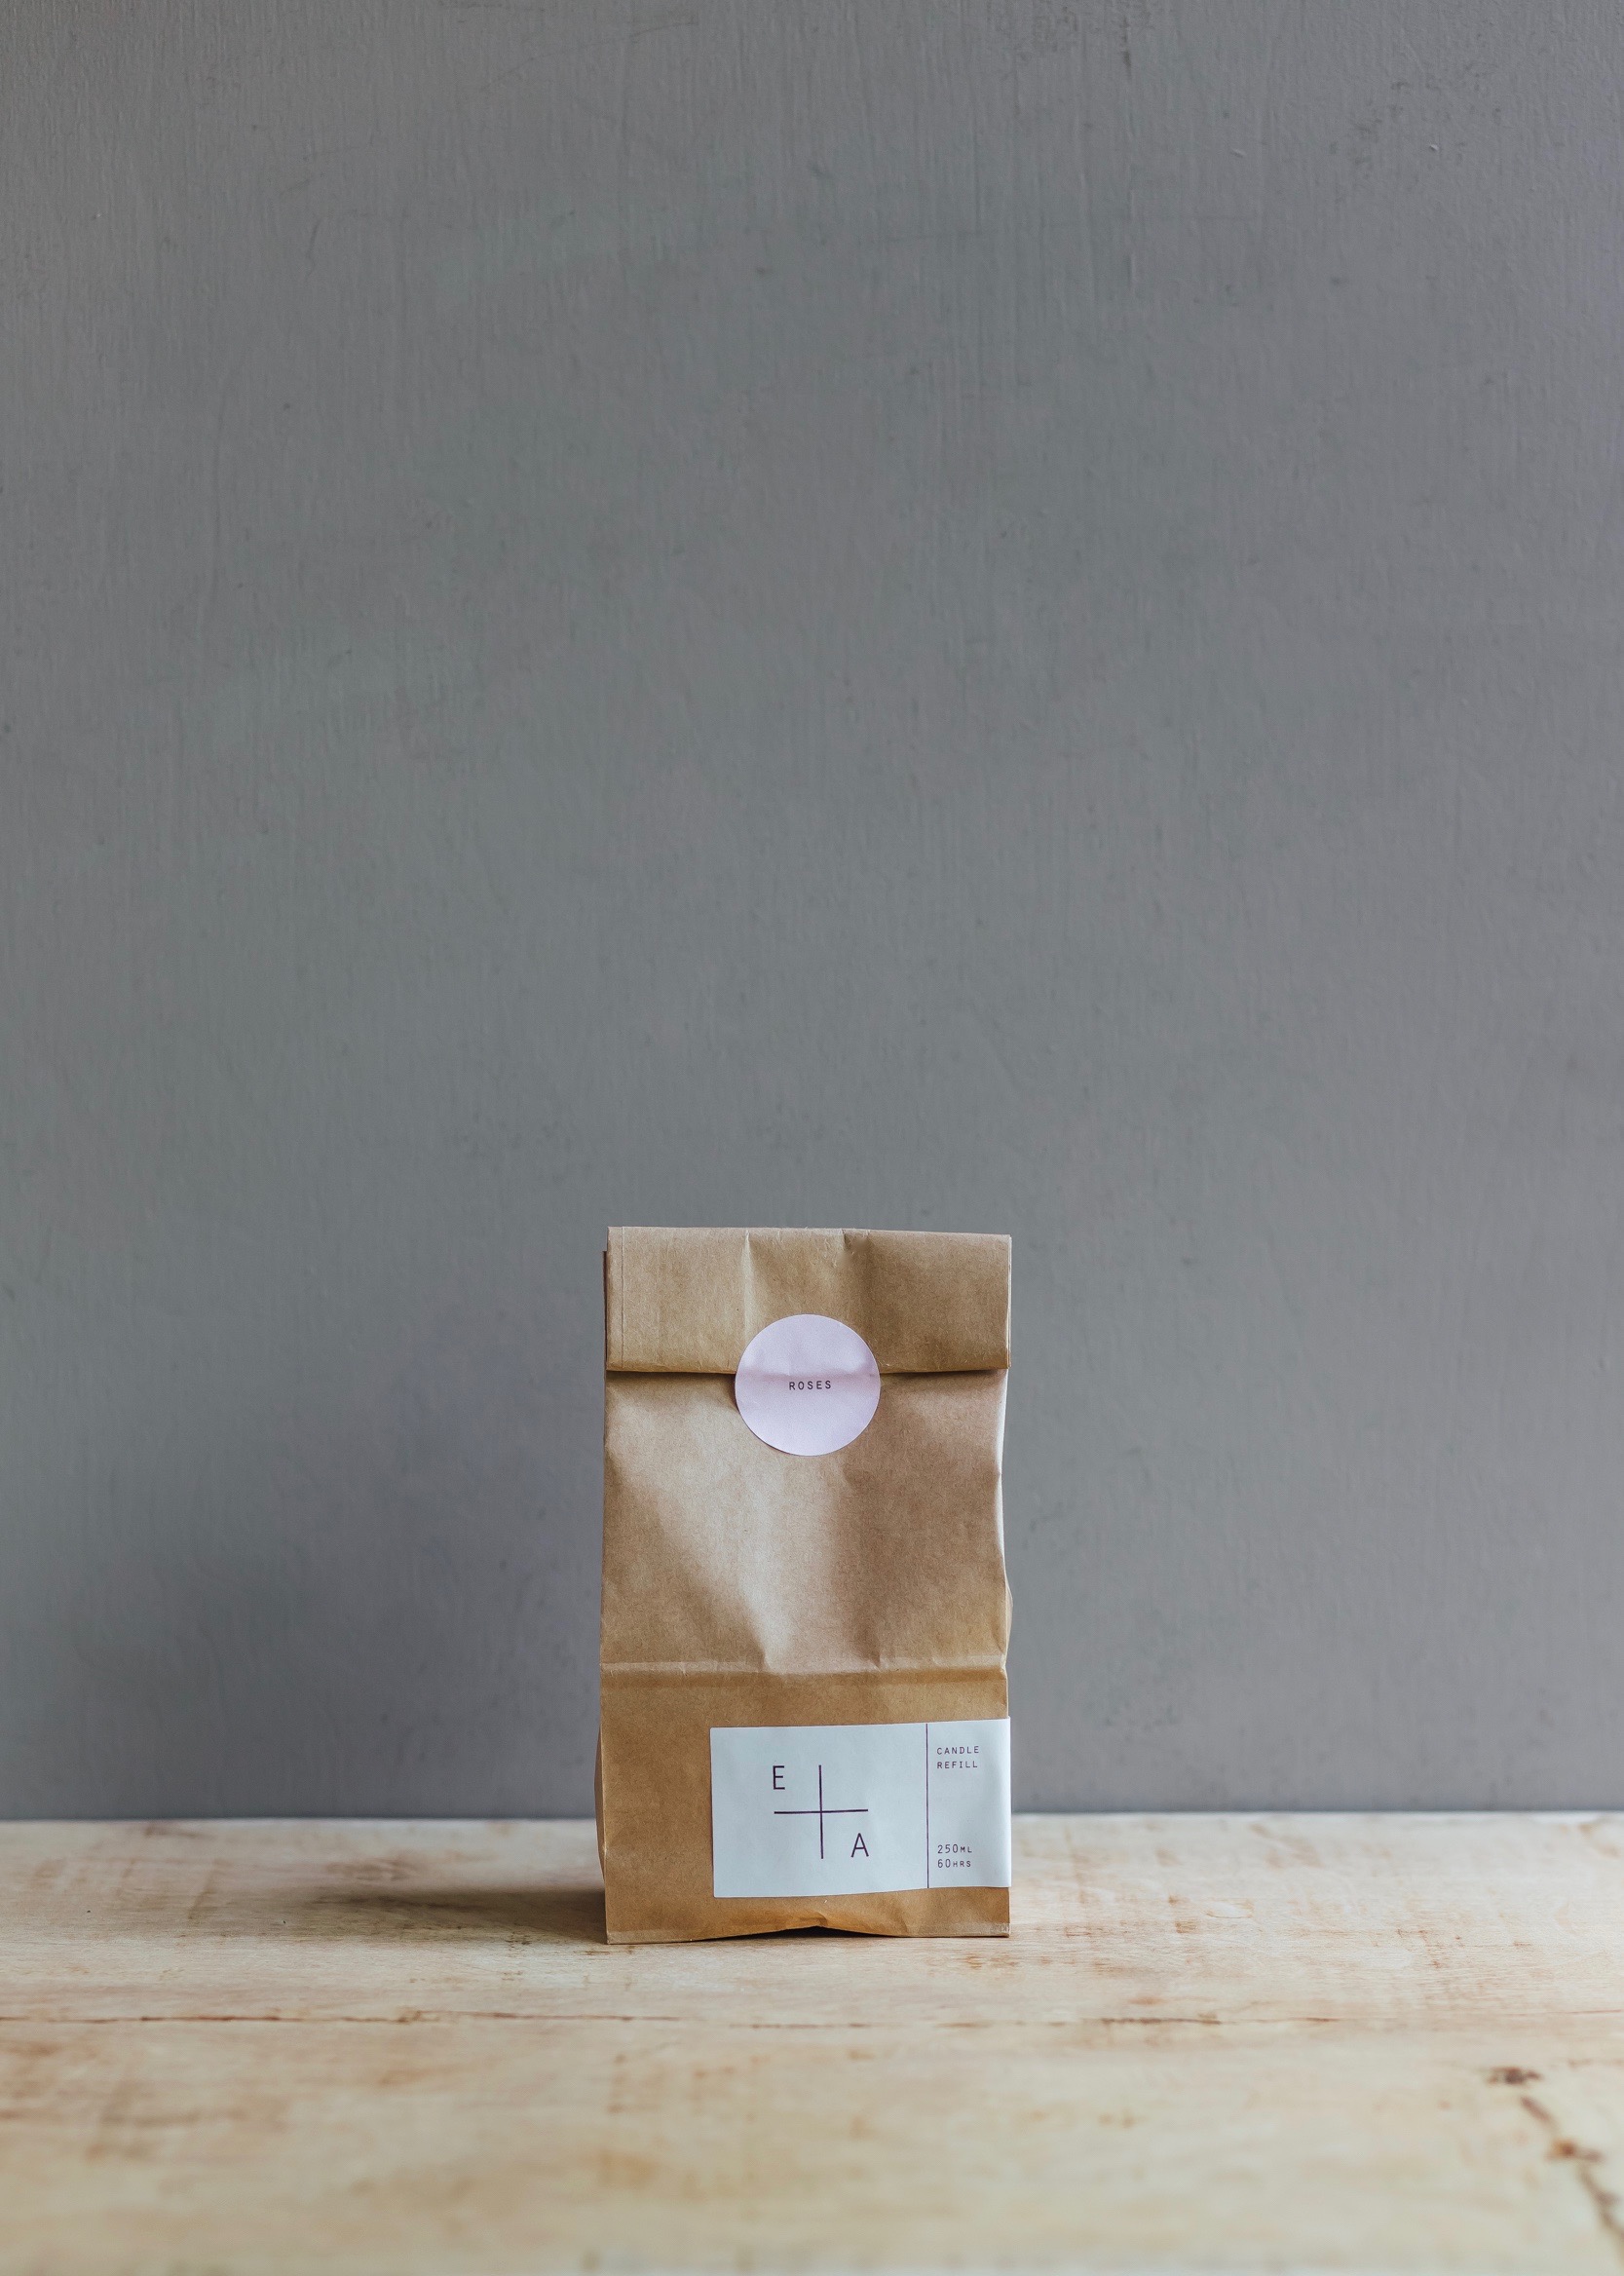
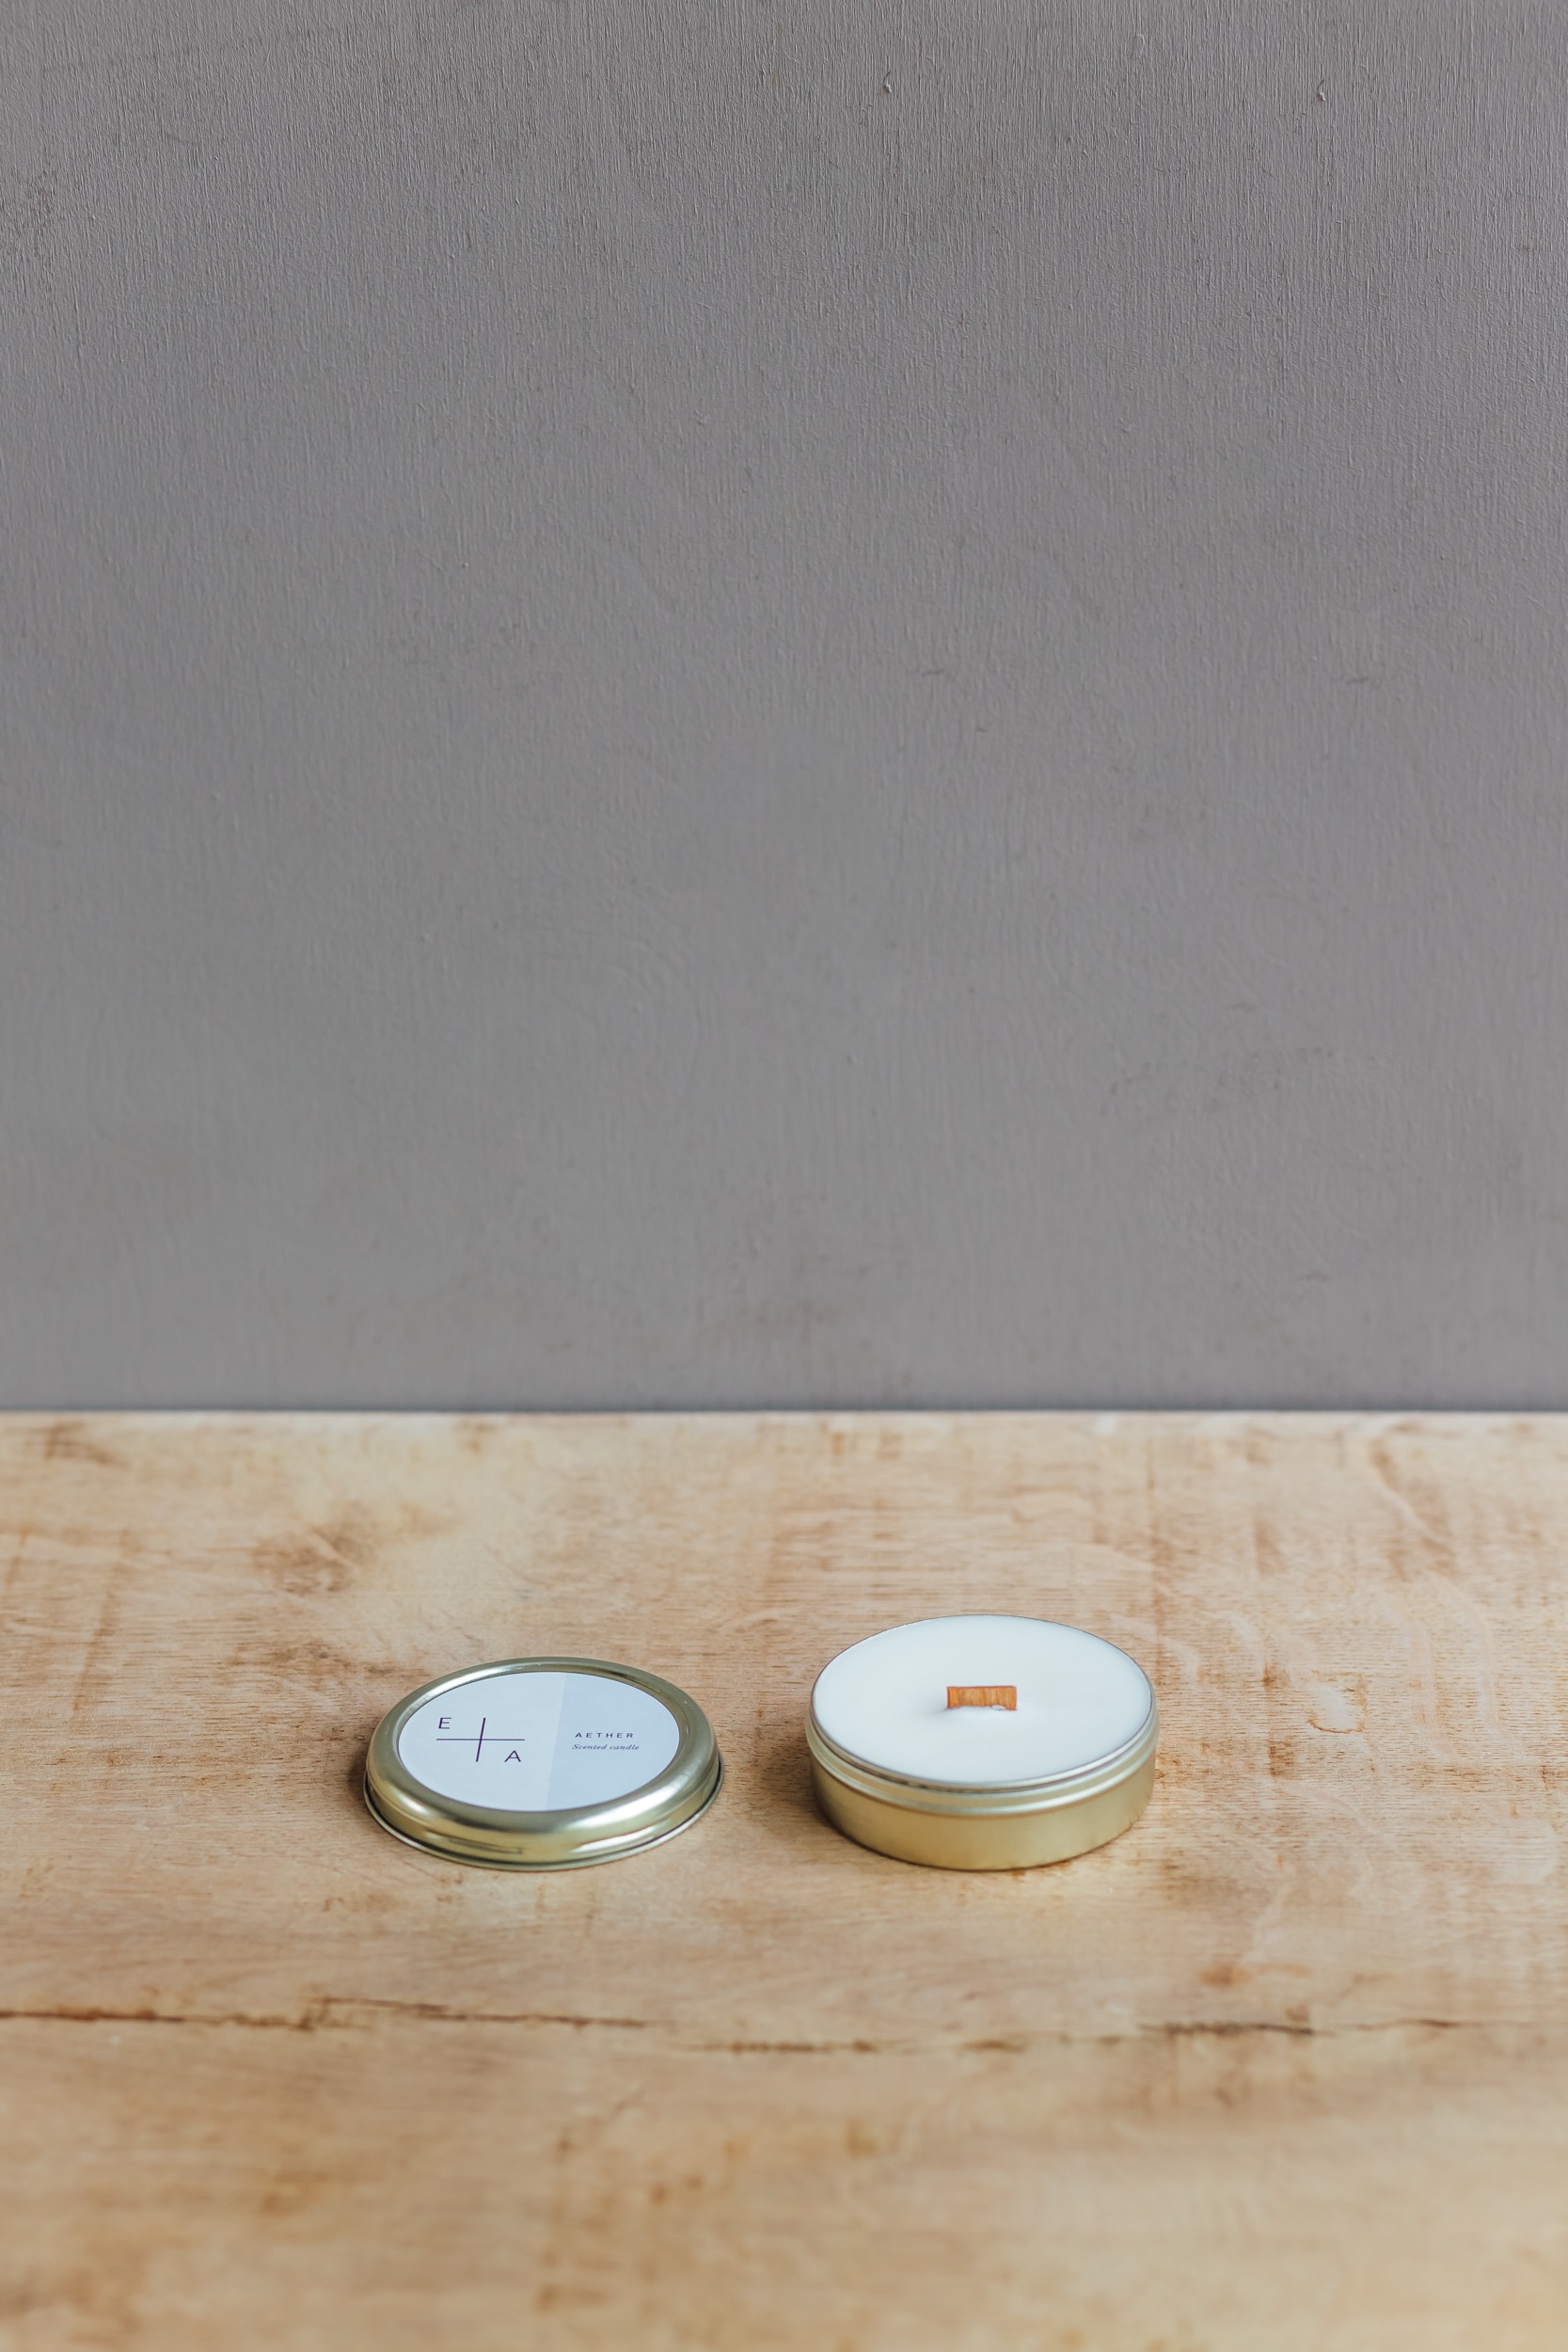
There is a new handy travel size gold tin candle, great for popping into your bag or giving as a gift.  There are also candle refills for tea-light holders and large beaker candles and I’m also offering a candle refill service now whereby you can return your candle beaker for refilling.  

What is the candle club?

I created candle club to encourage the reuse of the large candle beaker and offer refills at discounted rates. Customers can either sign up to a 3 month or 6 month package and choose which candle scents they’d like and they also receive little gifts each month. 

What's on your bedside table?

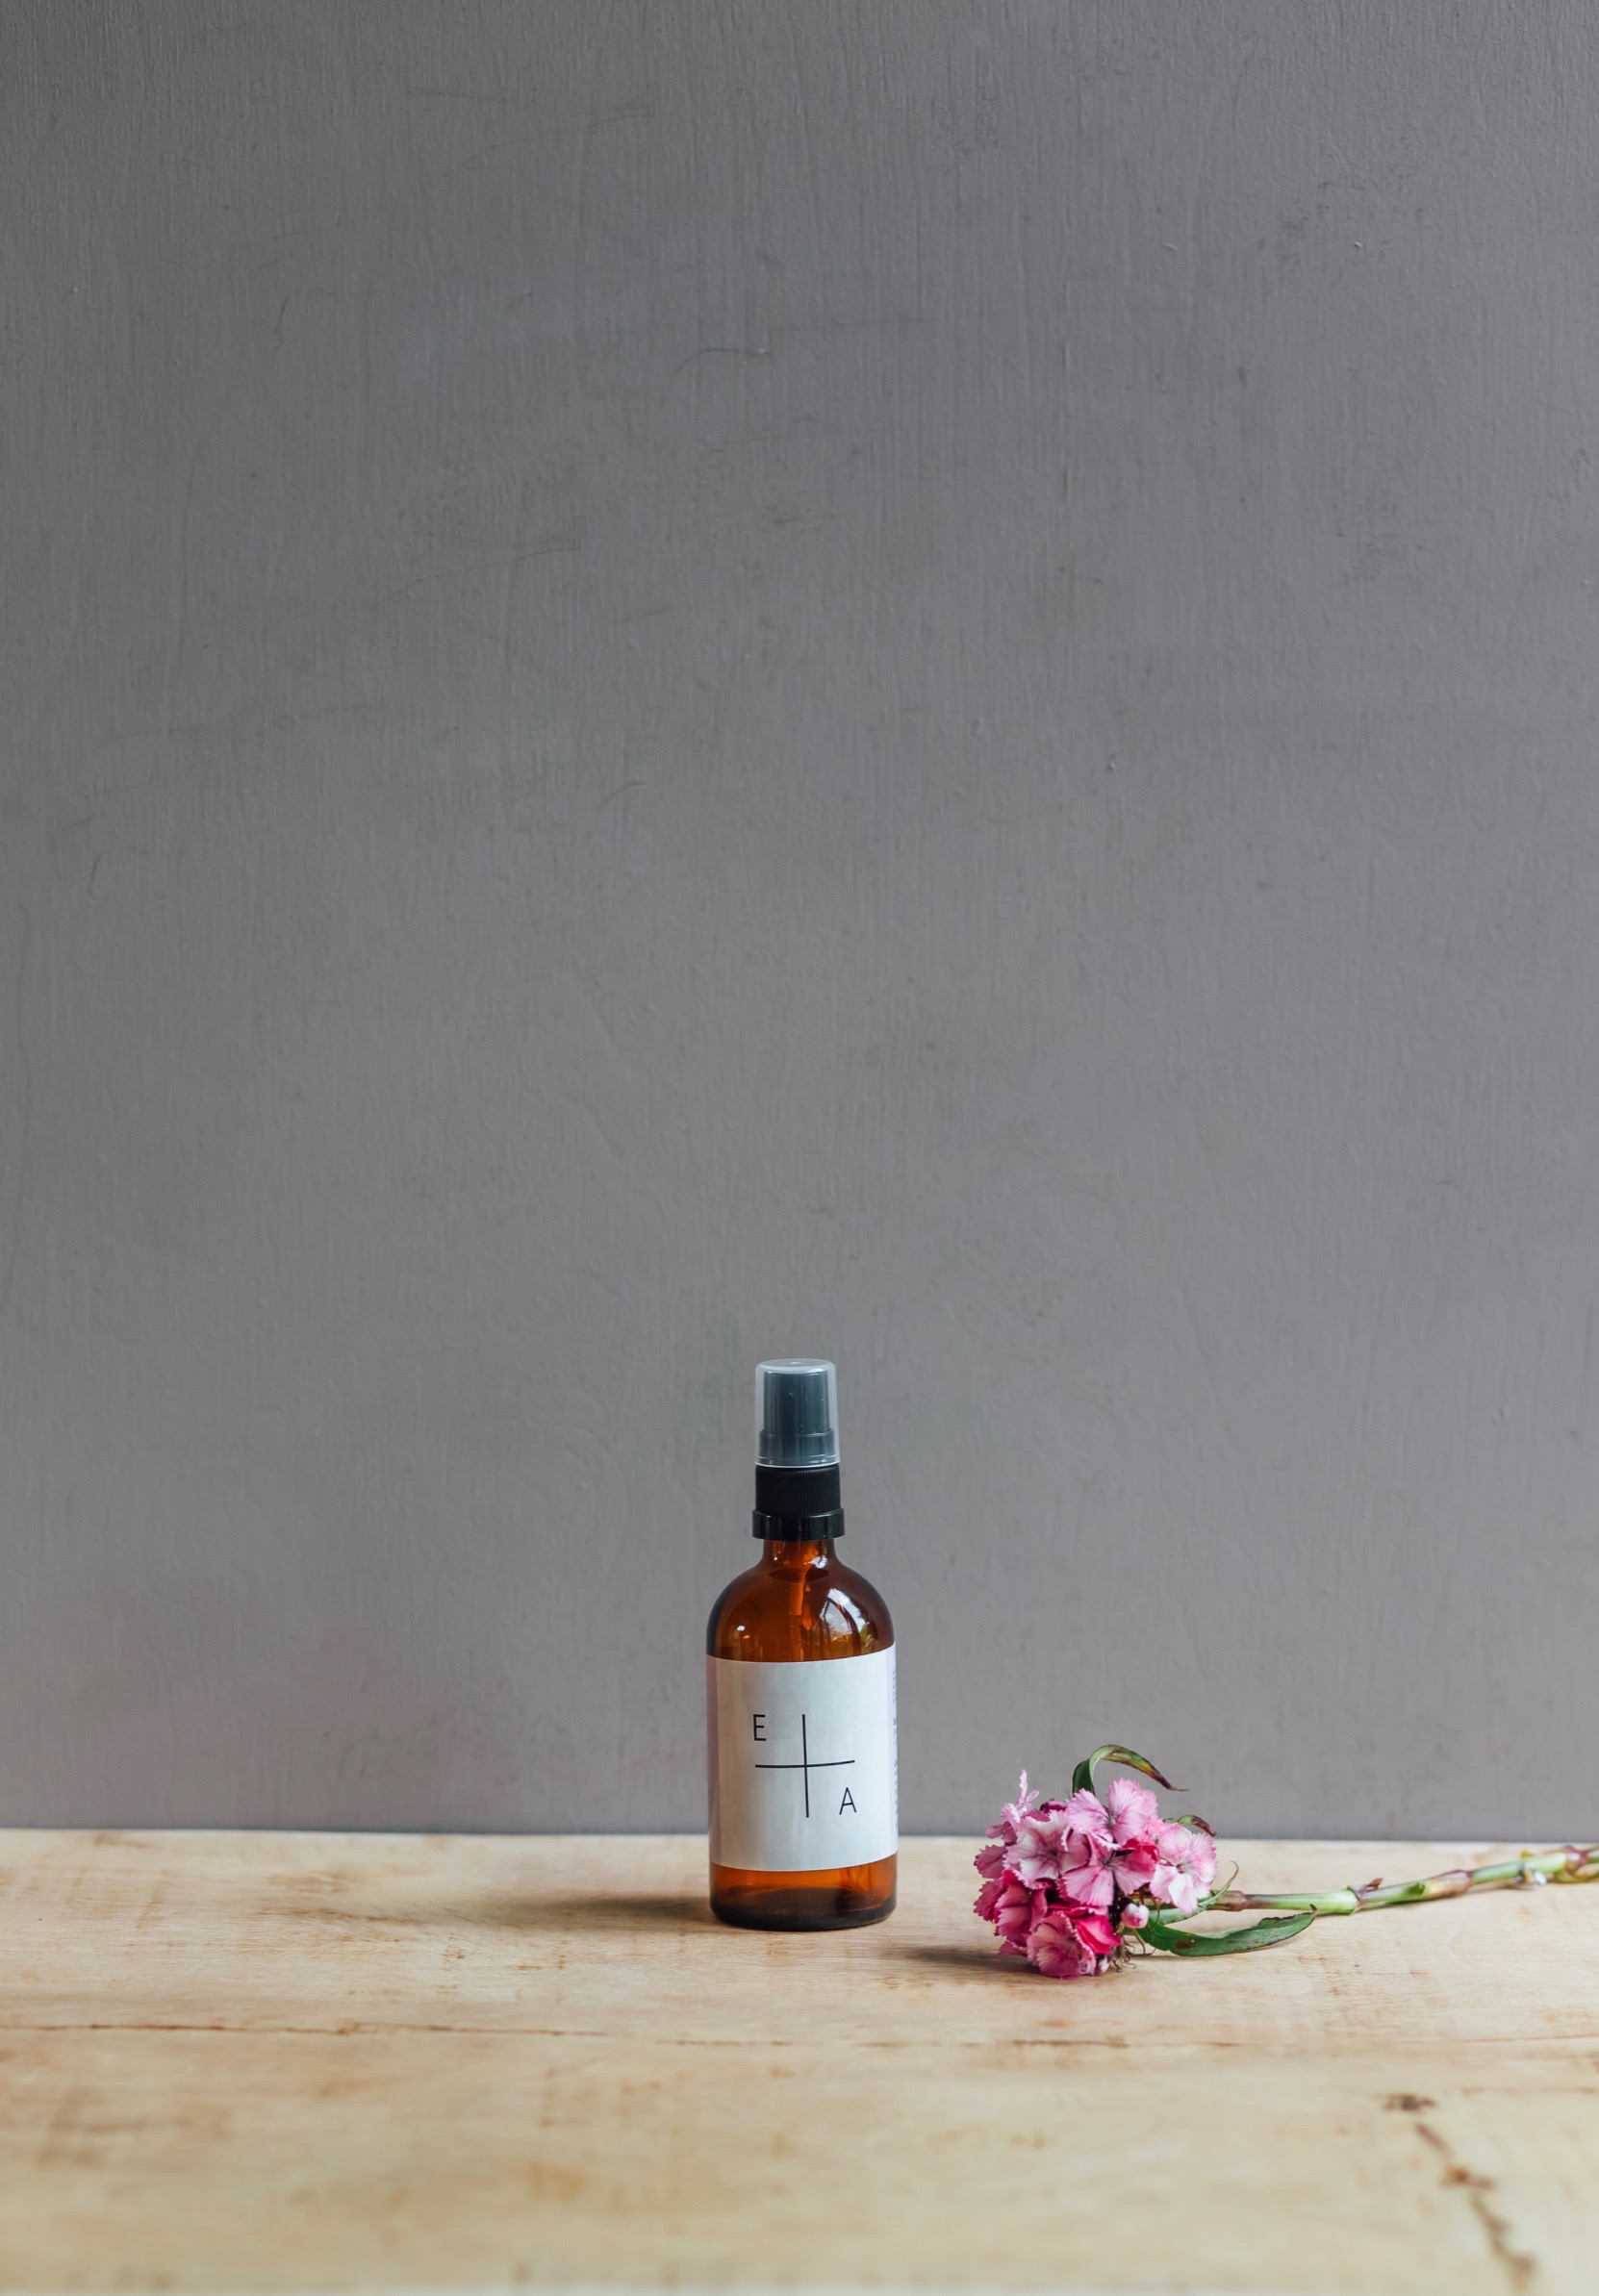
A hardback copy of Culpeper’s Complete Herbal and an E+A Aroma Mist.  At the moment I’m using Unwind with lavender and sweet marjoram to help create a relaxing atmosphere before bedtime.  

This is a sponsored blog post, created in collaboration with Essence + Alchemy. Find out more about them in our Directory.


Paint it black

By applying an iron solution to carved wood, you can instantly ‘ebonize’ it, creating unique pieces with wonderful inky hues. Max Bainbridge turns to the dark side...

Max advises using either oak or walnut for ebonizing, due to their high tannin content. Image by Dean Hearne

Max advises using either oak or walnut for ebonizing, due to their high tannin content. Image by Dean Hearne

In this project I demonstrate how to ebonize a small oak bowl, using the natural tannin in the wood to blacken the surface. It’s a simple and natural process that gives an instant and completely transformative result. 

The ebonizing process is one that’s hard to believe even when you see it happening before your eyes. The basic principle is to create a chemical reaction between the wood’s tannin and iron oxide. Tannin is a tree’s natural defence against predators, and iron oxide is what we commonly know as rust. You can create an iron solution by steeping wire wool or iron nails in vinegar. Then, by applying this to the surface of a wood that is high in tannin, such as oak, you produce a chemical reaction that turns the wood black. 

Tools

Small oak or walnut bowl
Large jar
Water
White distilled vinegar
Iron nails or wire wool
Paintbrush
Cloths
Beeswax salve 

Method

1. Fill a large jar with two parts water to one part white vinegar, add the nails or wire wool and leave to soak. Do not keep a lid on the jar because while the vinegar reacts with the iron, a small amount of gas will be produced, which needs to escape.

2. Once the nails have been in the solution for at least a week, a layer of rust will form on the surface and the liquid will be brown or orange in colour.

3. Using a paintbrush, start applying the rusty vinegar solution to the surface of the wood and allow the reaction to take place. If you are using oak, the reaction will happen straight away and you will see the colour change in front of you. Observe how the colour develops and keep applying more solution if you wish to intensify it.

4. You can keep applying layers, allowing each layer time to dry, until the colour doesn’t get any darker. Once you are happy with the colour, give the surface of the wood a wipe down with a cloth.This may result in some of the colour rubbing off, but keep going until nothing more comes off on the cloth. Leave the ebonized bowl somewhere ventilated to dry and allow the vinegar odour to evaporate.

5. When it is completely dry, apply a coat of beeswax salve.You will need to use a clean cloth just in case any residual pigment comes off the bowl as you apply the salve. Leave to soak in overnight and then rub down the following day. 

For more carving projects and woodwork techniques from the team behind Forest + Found, pick up a copy of The Urban Woodsman by Max Bainbridge (Kyle Books, 2016), £16.99.

This features in issue 6 of Ernest Journal, on sale now.

Issue 6
Sale Price:£5.00 Original Price:£10.00
Quantity:
Add To Cart

Photo boards: mastering the backdrop

The art of creating a beautiful backdrop for small-scene photography has been made far simpler with Photo Boards – rigid, lightweight background boards where every splinter, grain of wood, rusty nail and thread of linen are true to size. We spoke to Lyndsey James about her designs...

Lyndsey, Photo Boards® is such a clever, yet simple, idea. How did you come up with the concept?

Thanks! As a commercial photographer, I have spent a lot of time looking for backgrounds. I had the idea about three years ago, when some vinyl backdrops I purchased just weren’t of the quality I needed for close-up work, like jewellery, but I had just started teaching online and knew it would be a huge undertaking to manufacture, market and ship products to customers at a time when I was already super busy. 

I decided back then that if someone still hadn’t produced something like this in three years, then I'd go ahead and do it. It helped that I had a huge customer database of photography students to market them to, but I didn’t quite expect them to go viral in the way that they have – after just two months we were dispatching worldwide from a warehouse! 

What exactly are Photo Boards? 

They are table-top sized background boards for small scene photography with two essential features – they are true to size replicas and in a board format. As a photographer taking close up shots, you want a fake background to look like the real thing, so every splinter, rusty nail and thread of linen in the designs is actual sized. 

It being a rigid lightweight board design is also important for photographers, because it means that your set becomes mobile, allowing you to pick it up and move to a window for more light, or rotate your board to adjust your shadows without having to set up from scratch. To use a Photo Board, you simply use it like you would an actual piece of board, placing it on the table or floor or propping it up for a vertical background.

The textures of each Photo Board are strikingly crisp and as close as possible to the real surface - how do you achieve such clarity?

Yes, they look so real sometimes we do a double take! We spent a lot of time researching the base materials, inks and processes used to create the boards. They are created using the latest in high-resolution scanning and printing techniques, and laser cut to perfection to ensure each board looks smart before being wrapped in a clear sealed wrapper. 

People often think they're just prints of stock images but you just couldn’t get the true replica quality without having full control of the resolution at every stage. Each board starts out as an actual board from my collection of backdrops or we paint new designs when we fancy introducing a new colour or texture to the collection.

Which Photo Boards are the most popular? 

The most popular designs are neutral because they are the most versatile. Our customers can add a splash of colour to a neutral background with their subjects or props, layering their scenes on top of the neutral Photo Board base. We have seen the same wooden design used as an effective wooden floor, cabin wall, kitchen table, rustic desk – our customers always delight us with their creativity!

Why is it important for makers and bloggers to carefully consider backdrops for shooting their products?

A good background can really make or break an image, which of course is important for makers and bloggers who want their shots to be shared on social platforms to pull traffic and interest to their blogs and stores.

Readers and buyers love to aspire to a lifestyle, and for effective lifestyle shots you should always ask yourself does this photo look like real life? One example is that solid surfaces, such as wood and marble, don’t usually bend and curve, so if you use a wood or marble effect paper that curves behind your subject, it won’t look like a real lifestyle setting. Using a flat wood or marble effect base for the table and plain wall behind would look more effective in that scenario.

What's your personal favourite go-to Photo Board?

We particularly love the marble designs and bloggers and food photographers love them too – marble is very on trend at the moment because it adds a touch of style and glamour to scenes. If I had to choose a personal favourite, it would be our French linen design because it looks so wonderfully real, yet, like all our boards, it's wipe clean!

You also run Photocraft, an online photography school that teaches makers how to tell the story of their products - when's your next course?

There are exciting changes going on at Photocraft – we're about to embark on the summer season of live workshops here in Rutland, which are fun, relaxed days of styling with lots of pretty props.

Online we're moving towards mini workshops and free webinars. Photo Boards has taken over big time so after three years of hosting tutor guided courses, Photocraft will now become the place to go for free webinars and mini courses about specific photography topics, such as how to create dark and moody lighting. Watch this space!

Discover more about Photo Boards at photoboards.org and follow @photoboardshq on Instagram. Find out more about Photocraft in our Directory.

This is a sponsored blog post, created in collaboration with Photocraft

Curious artefact: the orrery

We've teamed up with the Museum of the History of Science in Oxford to gain insights into scientific apparatus that revolutionised mankind's understanding of the world and the cosmos. Dr Sophie Waring is your guide to the orrery...

You can see fine working examples of orreries, such as this one, on display at the Museum of the History of Science, Oxford

You can see fine working examples of orreries, such as this one, on display at the Museum of the History of Science, Oxford

Mankind has always been curious about our place in the cosmos. For millennia we, rather smugly, believed that Earth was at the centre of the universe with celestial bodies orbiting around us. This was challenged by astronomers who made heliocentric (sun-centred) models of the universe after observing the movement of the planets. The first of these models was described by mathematician and astronomer Nicolaus Copernicus in 1543. He justified his system with astronomical observations and a rich geometric description of his model. It is this sun-centred model of the universe that an orrery usually depicts.

The great patron of scientific thinking, the Earl of Orrery, was given one of the first models and bequeathed his name to the invention. English clock makers George Graham and Thomas Tompion built the first modern orrery around 1704 while Christiaan Huygens published details of his newly-built planetary machine in 1703 from Paris.

The clockwork nature of these contraptions reflected our new mechanistic explanations of the universe made possible by Isaac Newton’s theory of gravity. Orreries would reflect and inspire the sense of awe people had in the 18th century as they discovered their place within a ‘clockwork universe.’

You can see working orreries on display at the Museum of the History of Science in Oxford.

Words: Dr Sophie Waring, Modern Collections Curator, Museum of the History of Science, mhs.ox.ac.uk

This originally featured in issue 5 of Ernest Journal, on sale now.

Issue 5
Sale Price:£5.00 Original Price:£10.00
Quantity:
Add to Cart

Kit review: the Onja Stove Duo from Primus

ITV's Coast and Country presenter and founder of Dryad Bushcraft Andrew Price puts his outdoor cooking know-how to the test on the new Onja Stove Duo from Primus while adventuring on the Gower Peninsula

Primus Onja Stove Duo, complete with oak board and utensil roll, RRP £105

Primus Onja Stove Duo, complete with oak board and utensil roll, RRP £105

Back in the 1980s, when I first showed an interest in camping, my friend’s father gave me an ancient brass camping stove in a rusty tin box to help get me started. The thing hadn’t been used in decades so I eagerly polished the tarnished fuel tank to a mirror shine with Brasso before marching up to my local ironmongers to buy some paraffin. In those days paraffin was sold by the gallon, and since I didn’t have a container my friendly ironmonger sold me a jam jar full of the stuff for 10p along with a new leather washer, and sent me on my way. 

When I got home I filled the fuel tank with paraffin, and with the help of my friend’s dad I changed the old and perished washer for the lovely new one, unscrewed the pressure release valve, primed the pre heater with methylated spirits and lit it with a match. Just before the meths had completely burned away I re-tightened the pressure release valve and apprehensively began to pump the stove. Within seconds it roared to life with a noise reminiscent of a Vulcan bomber ready for takeoff. Magic.

That was an old Primus no.23 stove, and it served my friends and I very well for years. It could boil a pot of water in a few minutes, and with its thunderous roar and bright blue flame it never failed to get the job done, whatever the weather.

Over 100 years of craftsmanship

Primus have been making camping stoves since 1892, and they’ve played a vital role in practically every significant expedition of the 20th Century, from Scott’s ill-fated South Pole expedition, to the first successful ascent of Everest.  

The Onja stove from Primus continues in that great Swedish tradition of quality and practicality, all packaged into a compact two burner design that offers a lot of versatility for the wilderness gourmet. One burner is fine if you’re making tea or thawing out some pemmican on the frozen wastes of Antarctica, but if you want to sauté asparagus while pan frying a couple of freshly caught seabass fillets, two burners is definitely the way to go.

The Onja Stove Duo is the most compact two burner stove in the Primus range, and with its neat folding design and handy shoulder strap you can take it anywhere, from a picnic in your local park to an extended canoe trip in Scotland. In its folded state it can easily be mistaken for a messenger bag, and it only weighs 3kg.

The stove uses Primus bottled gas in either 100g, 230g or 450g sizes, and each burner has a separate fuel source so you will need two bottles of gas to power both burners. The gas isn’t supplied with the stoves, but they are available in outdoor shops all over the country, so resupply shouldn’t be an issue unless you’re in the middle of nowhere. The gas bottles can be carried fitted to the stove so they are out of the way. 

A thing of beauty and practicality

Heat can be adjusted precisely with the neat folding steel switches, and I had no problems using it to boil water or gently simmer a pan of soup. The sturdy steel construction is very stable and the burners are at a very useful height for cooking while sitting cross legged on the ground, or on a table top.

The lid of the stove top is a beautifully polished oak board, which can be used as a chopping board or as a level surface for a couple of glasses of Chablis. The features in brass, leather and fabric are a nostalgic reminder of its Primus heritage, so typically Swedish.

Combined with the Primus campfire stainless steel cook set, utensil roll and a bit of imagination, this stove should give you many memorable outdoor dining experiences.

Andrew carries the Onja stove packed up neatly like a messenger bag

Andrew carries the Onja stove packed up neatly like a messenger bag

Primus Onja Stove Duo, £105. To locate a store near you, visit primus.eu/storelocater. For more about the story behind Primus, read our Q&A in the Ernest directory

Andrew has worked as an outdoor pursuits instructor for over 20 years, teaching rock climbing, abseiling, gorge walking, coasteering, kayaking and canoeing, before specialising in bushcraft and survival skills through his company Dryad Bushcraft. He's also presenter of ITV's Coast and Country.

dryadbushcraft.co.uk